A COMPLETE TLPUR VIDEO TUTORIAL
From one photo to the finished joke.
A TLPUR-style dancing edit has two parts: making the movement, then adding colors and a caption. Here is the workflow behind our cat example, including what you can try without generation credits.
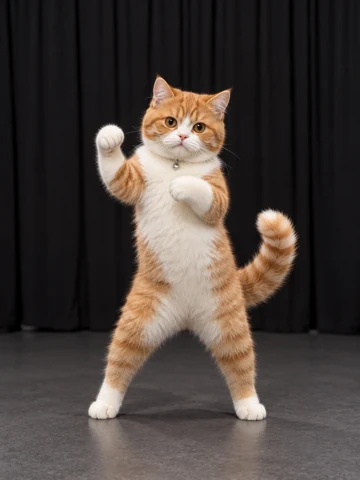
1. Start with a clear character photo
Open the cat dance starter. The example photo is already selected, so you can inspect the setup before uploading your own. For a dance, show the whole subject with room around its arms and legs. A busy image or multiple subjects makes it harder to communicate which character should move.
Use an image you have permission to upload. The AI generation step sends the chosen inputs to the generation service; styling a local video later is a separate browser operation.
2. Choose and preview a motion
The starter selects the 13.5–18.5 second range of “Katseye Gap Ad dance,” giving a five-second reference. Play the motion and check the start time before creating. You can also browse other motions, upload a reference or switch to the prompt-based mode.
Open the example reference excerpt. The motion tells the model how to move; it is not the finished character video.
3. Review the model, cost and result
Check your photo, selected range, model and estimated credits in the studio. Sign in and start generation only when that setup is ready. The estimate depends on the selected model and duration; this tutorial does not promise a fixed price.
After completion, watch the entire result. Check character appearance, limbs, camera movement and unwanted changes to the background. Keep the original download so you can return to it if you want a different style edit.
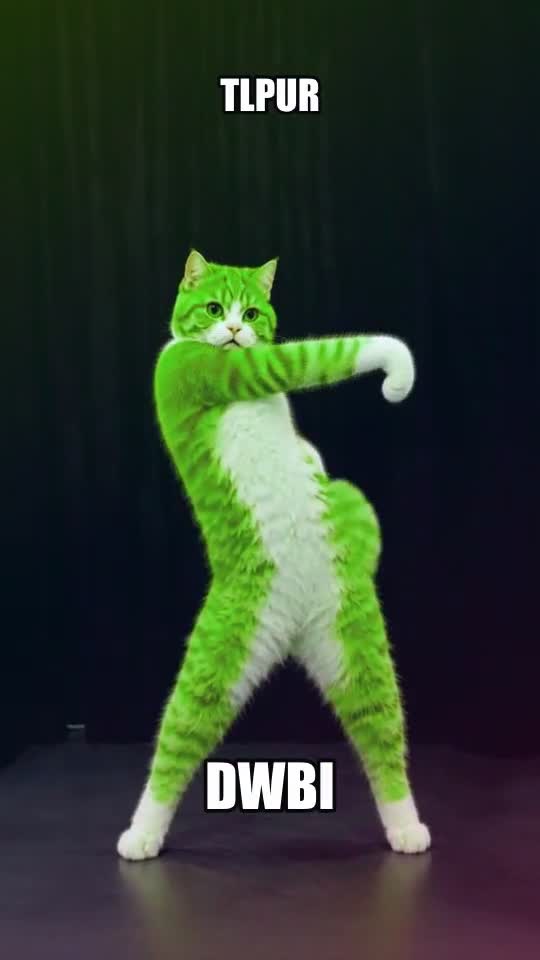
4. Add Rainbow and a DWBI caption
Open a completed video in the style editor, or load the supplied sample to practice without a new generation. Select Rainbow, adjust intensity, and type DWBI or your own words. “More options” lets you place the caption at the top, center or bottom and choose whether to keep original sound and the TLPUR stamp.
Our finished example uses Rainbow at 65%, DWBI at the bottom and the stamp enabled. If you have saved different settings, reset or adjust them to match. Use the Original control to compare your edit with its source.
5. Export and check the actual file
Use the download button and keep the tab open while the clip records. The editor accepts clips up to 60 seconds and 100 MB. It preserves source proportions and limits the export canvas to 720 pixels wide and 960 pixels tall. Start with a vertical 9:16 source for a vertical result; there is no crop control in this editor.
The output is WebM or MP4 depending on browser support. Original sound also depends on browser audio capture support; check the export message and play the downloaded file before posting. If your sharing app does not accept WebM, convert the saved file with a video tool you trust.
See each stage of the example
Watch the final Rainbow+DWBI clip and inspect its inputs. That page also retains the unstyled generation, so you can distinguish motion transfer from the finishing effect. The web preview is an MP4 conversion of a real browser export.
Understand the caption before using it
DWBI and TLPUR on TikTok have different uses across meme communities. These are community interpretations, rather than one official definition. The tools let you make your own edit without having to copy a particular caption or reference.